Written by: Brass & Press
In this step-by-step guide, we’ll explore the art of crafting wax seals, allowing you to add a dash of vintage charm to your wedding projects.
Whether you’re a seasoned crafter or new to the art of wax sealing, this method will allow you to add a touch of DIY elegance and sophistication to your creations with ease. Read on below to learn how to create wax seals using wax beads.
Crafting Wax Seals with Wax Beads
To create wax seals, simply melt wax beads in a spoon over a candle or with a wax stove. Wax beads come in a diverse range of colours, ideal for complementing your wedding colour scheme.
Note: For a standard wax seal size of 25mm, you need approximately 3-5 beads per wax seal.
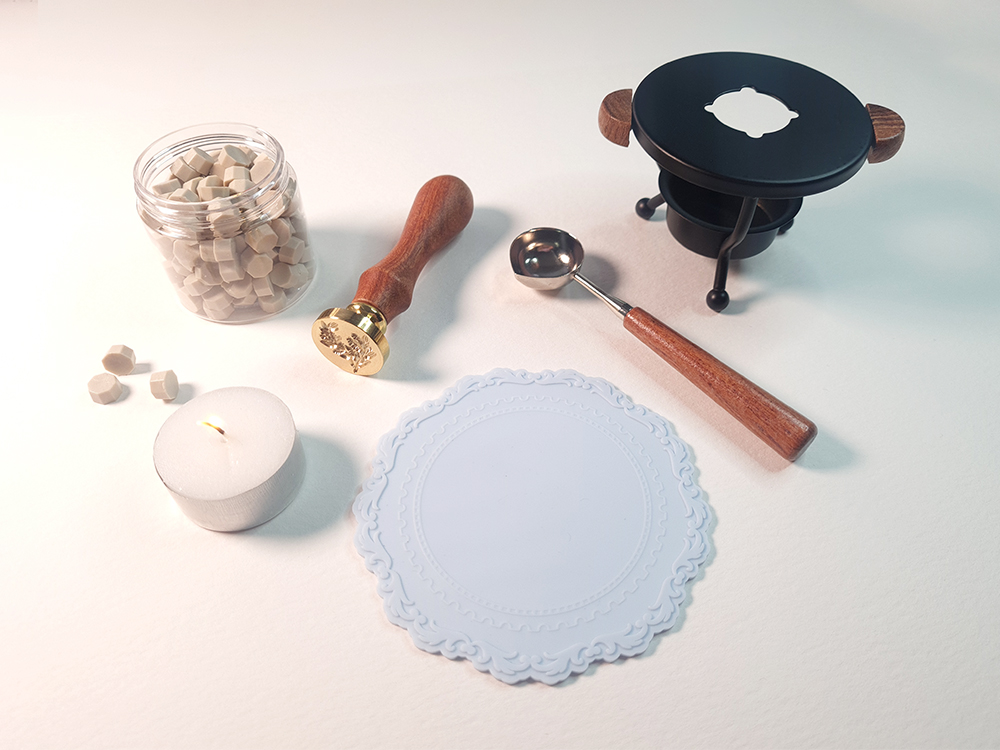
Step 1 – Gather Your Materials
- Wax Beads
- Wax Seal Stamp
- Wax Melting Spoon
- A Candle
- Wax Melt Burner (Optional)
- Heat resistant Mat or Baking Paper
Step 2 – Prepare Your Workspace
Set up your workspace in a well-ventilated area and lay down a non-stick mat or baking/wax paper.
Step 3 – Melt the Wax Beads
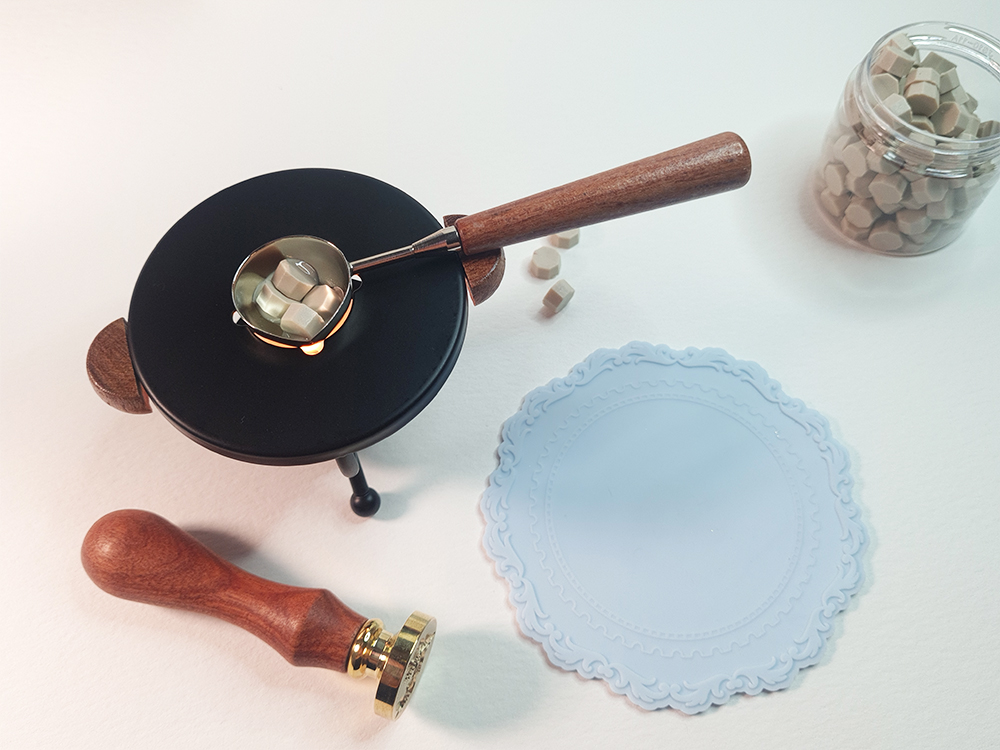
Light your tea light candle and hold your spoon approximately 5cm above the flame. If you are using a Wax Melt Burner, place your candle in the burner before igniting the flame. Add 3-6 wax beads into the melting spoon.
It will take 30-60 seconds to melt your beads, depending on the size of the flame. When your wax is the same consistency as honey, you are ready to pour the wax.
*Ensure to avoid direct skin contact with the spoon or wax when melting.
Tips:
- Avoid allowing the wax to bubble, as this means your wax is too hot and bubbles will appear on your wax seal.
- Melt 5-6 wax beads for your first pour, as some of the wax will remain in the spoon.
- Try melting different colour beads and mixing together with a wax stirrer to create a marbling effect.
Step 4 – Pour the Wax
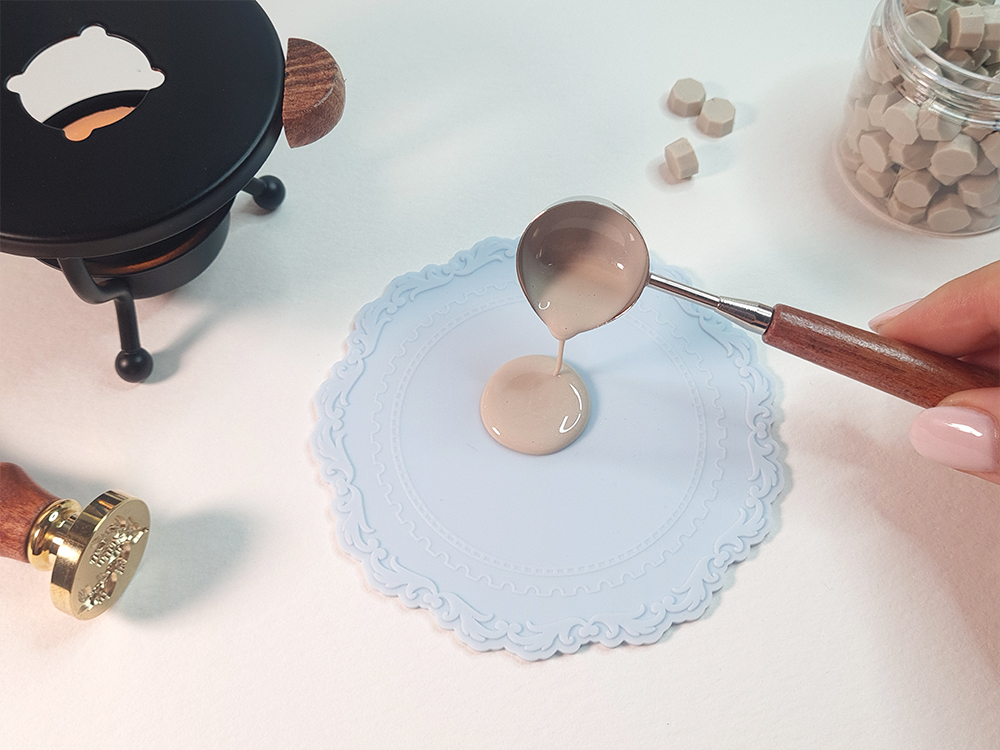
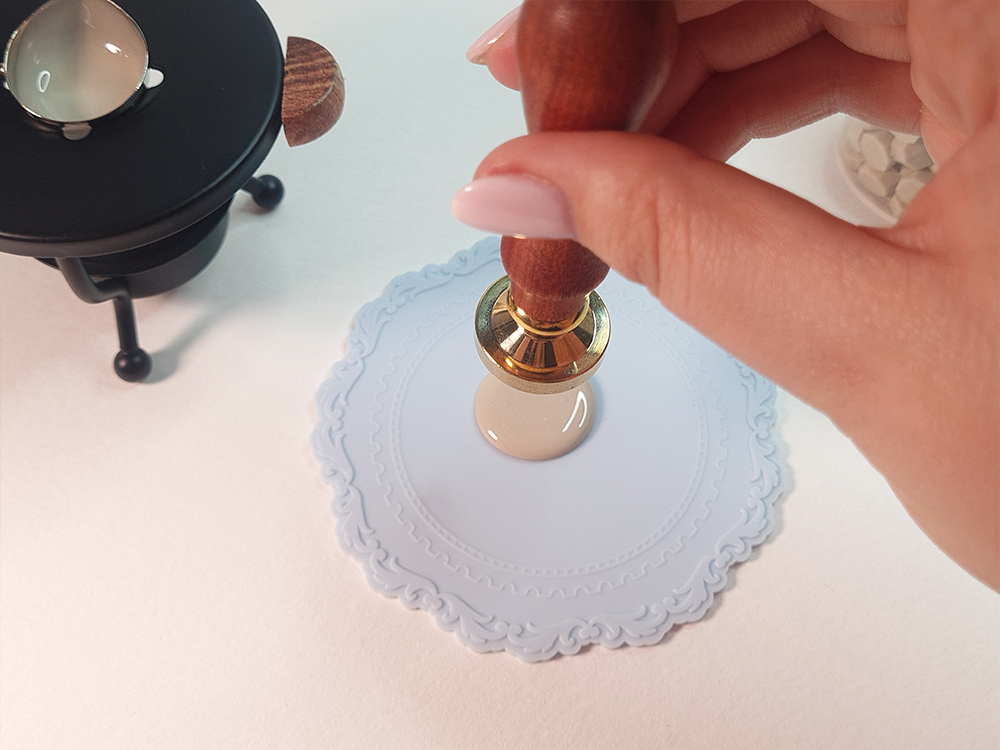
Carefully pour the melted wax onto the desired area of your invitation, envelope or non-stick surface, forming a circle or shape roughly the size of your wax stamp head. Be deliberate in making your edge, as your final seal will resemble the pour.
Tip:
- If you’re adding foil leaf or embellishments to your seal, add them in using fine point tweezers once you have poured your wax. Work quickly to avoid the wax cooling down as a cooler wax temperature, will impact the shape of your wax seal.
Step 5 – Stamp Your Seal
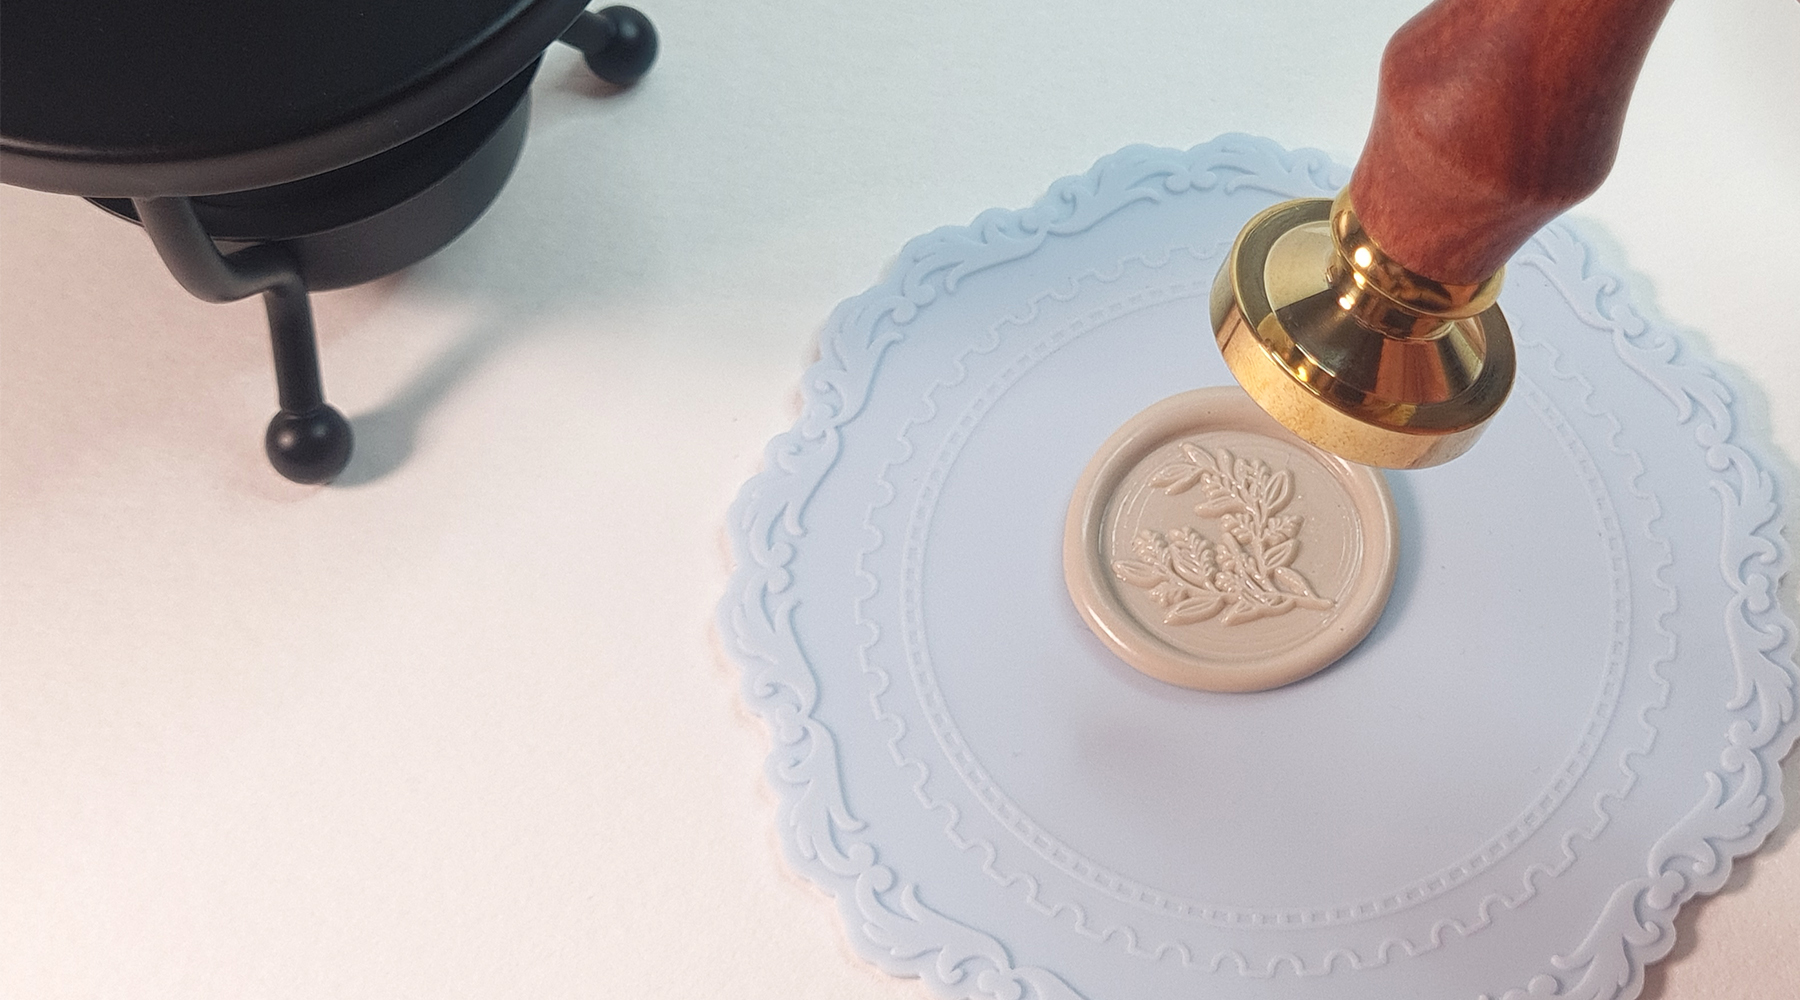
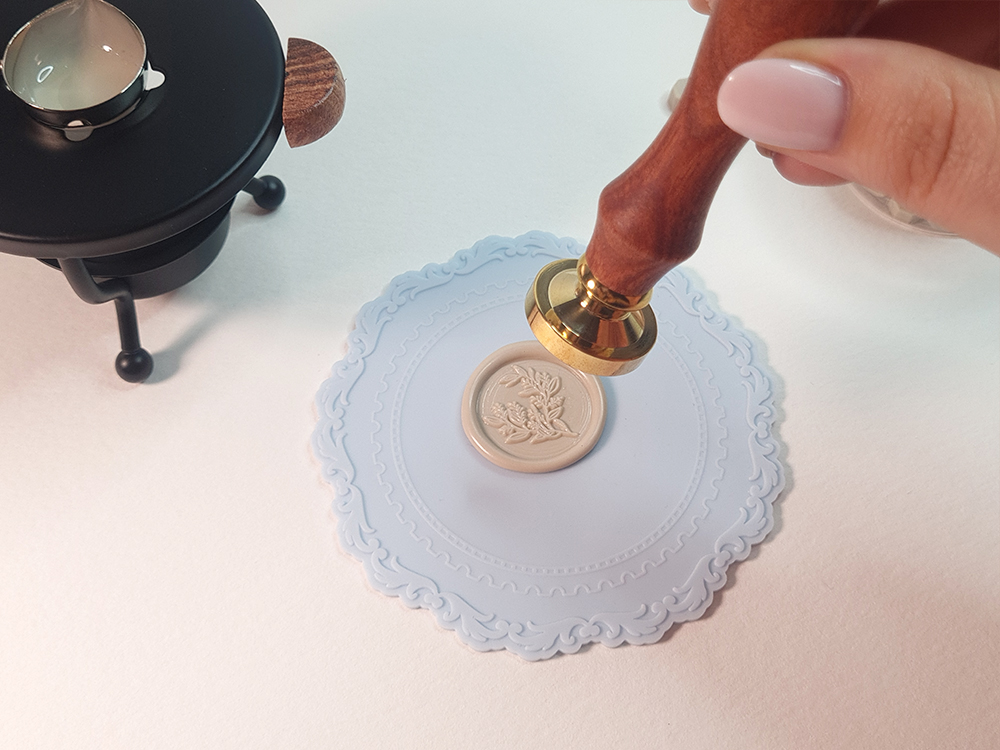
Quickly press your wax seal stamp into the melted wax with firm and even pressure. Ensure you press your wax stamp immediately after your pour, as the wax dries quickly. Leave the stamp in place for a few seconds to allow the wax to cool and set.
Tip:
- Use a cold stamp for better efficiency. If you are making many wax seals in one sitting, cool the wax stamp in-between making each seal on an ice cube or ice pack – dry it with a clean cloth or paper towel.
Step 6 – Remove the Stamp
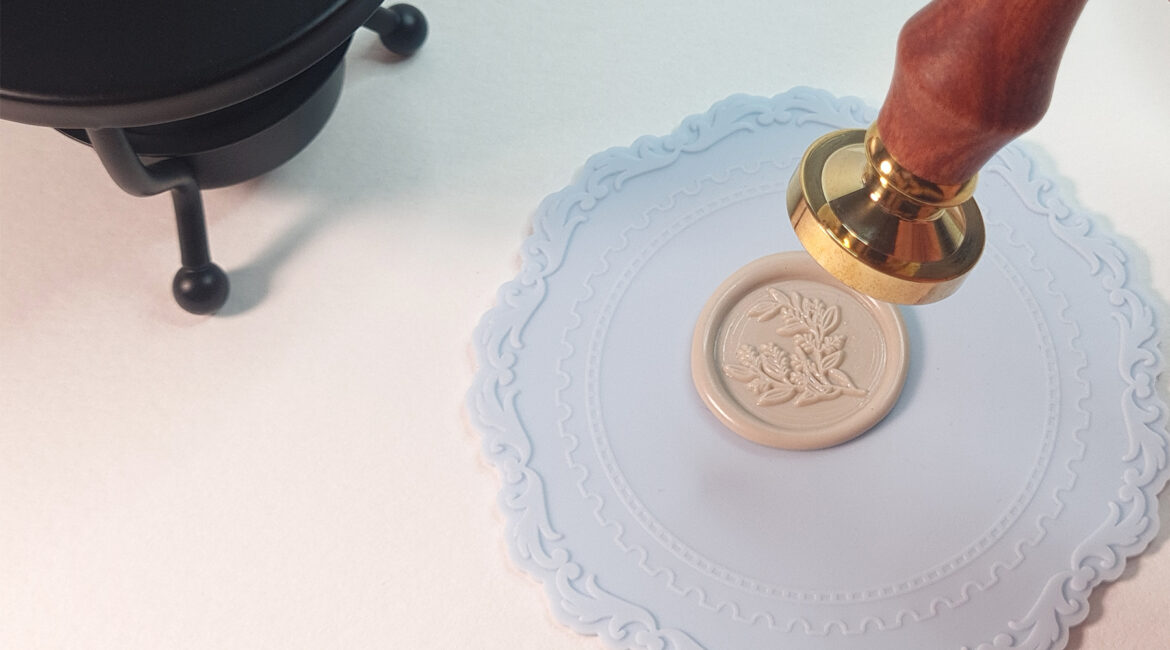
Gently lift the stamp away from the wax to reveal your beautifully embossed seal. If the wax sticks to the stamp, wait a few moments longer before attempting to remove it.
You should have a beautifully embossed wax seal!
Step 7 – Allow the Seal to Cure
Allow your wax seal to fully cool and harden before handling your sealed surface or wax seal. This typically takes a minute or two, depending on the ambient temperature.
For beginners, it may take a few tries before you get the hang of using the right amount of sealing wax for your wax stamp.
Whether designing wedding invitations, wedding favours, or on the day stationery projects, this wax seal making step-by-step guide provides the inspiration and information you need to begin your wax sealing journey.♡
We hope you found this blog post helpful. Find all your wax sealing supplies on www.brassandpress.co.za. Stay tuned for more crafting and wax sealing tips by following us on Instagram @brassandpress
Happy sealing!